From laptop to cluster with the same binary
Develop with teseladb dev on your machine and take the same thing to three machines without changing your code.
5 min read
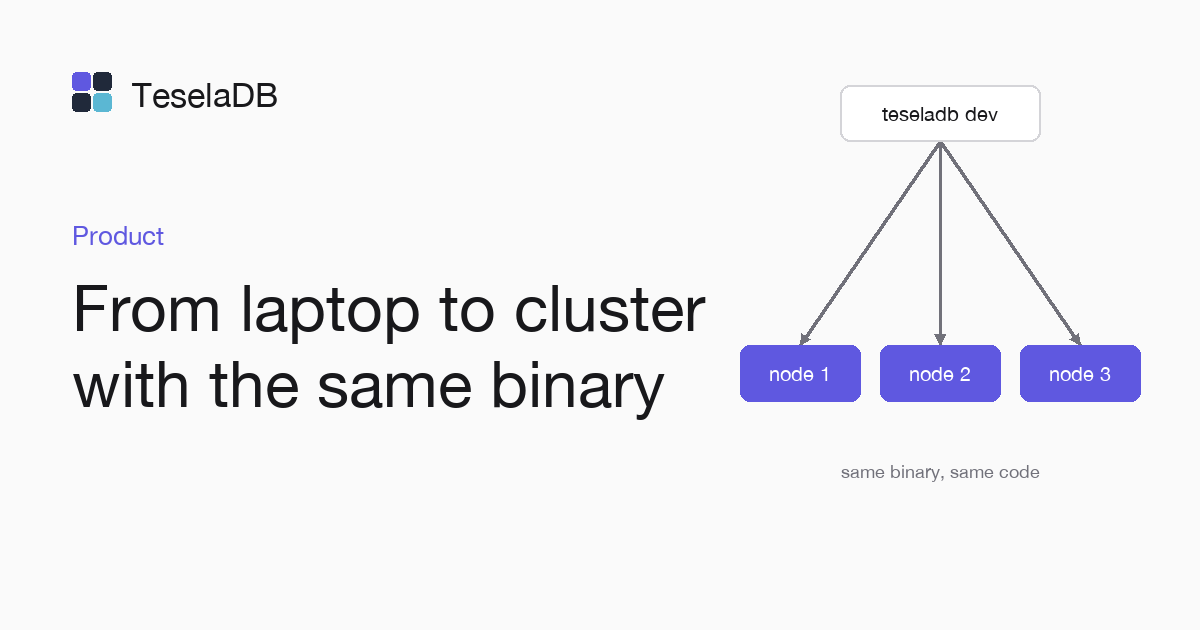
The binary you develop with is the same one that runs in production. What changes between your laptop and a three-machine cluster are the start options and the connection string, not your application. What follows walks that whole path, with what you see at each stage and what you have to touch when you move from one to the next.
On your machine
teseladb dev --nodes 3
mongosh "mongodb://127.0.0.1:27017,127.0.0.1:27018,127.0.0.1:27019/"
teseladb dev starts several nodes in a single process, with the data in memory, so nothing is left on disk when you
stop it. Node k listens on the client port plus k, which is why the three nodes of the command answer on ports 27017 to
27019 of your machine. Each one writes its ready line to the log. To stop it, press Ctrl+C in the terminal where you started it. Its data goes with it. This development cluster uses neither TLS nor users.
That is why the mongosh string carries no options.
The interesting part is that they are three complete nodes, with the same split into ranges replicated with Raft that
you will have in production. Each range has a replica on each node, one of them is the leader and writes wait for the
majority. If your application depends on something that only happens with several nodes, such as a read from a follower
or the order of a find without sort, you already see it on your laptop.
Looking inside
teseladb admin --node 127.0.0.1:<port> nodes
teseladb admin --node 127.0.0.1:<port> --format json ranges --collection test.orders
The teseladb dev log notes the administration port of each node, which the system picks at start. Any of them answers
for the whole cluster. The first command lists the three nodes as voters and says which one leads Group 0. The second
shows the ranges of the collection with their replicas, in voters, and the node that leads each one, in leaderHint.
With the test.orders collection just created you will see a single range that covers all of it, with the three nodes
in voters. When it grows past 64 MiB of live data it will split in two. From then on, the balancer will move leaders
between nodes to spread the load. They are the same commands you will use in production, where the administration port
is 27200.
On three machines
In production, each node is a teseladb start on its machine, usually as a systemd service. The first one creates the
cluster's certificate authority and the root user with a random password. The others join with a single-use
enrollment token that expires after an hour. On joining, each one gets its certificate signed by that CA. The cluster
then spreads the ranges and their leaders across the three without you moving data by hand.
Each node uses three ports. Port 27017 serves the drivers and has to reach your applications. The nodes communicate with each
other over 27100, so opening it between the three machines is enough. Port 27200 is the administration one, and only
your operations team, the one that runs teseladb admin, needs it. Splitting them like this lets you close in the
firewall everything that is not the client port to the outside.
There is a detail worth keeping in mind. Each node's certificate carries localhost and the names you give it in
--bind_ip, so if your applications connect to node-01 by its name, that name has to be in the start option. The
systemd guide handles it with --bind_ip 0.0.0.0,%H, which adds each machine's name.
How the development cluster differs
The teseladb dev cluster looks a lot like the production one. It has four differences. It keeps the data in memory, so
it is for tests and not for data you want to keep. It uses neither TLS nor users, and its administration ports change on
every start. Finally, the three nodes live in one process. You cannot take down just one of them to see how the cluster
reacts to a failure; that takes separate processes, like the containers of the Docker Compose guide.
What changes in your application
development:  mongodb://127.0.0.1:27017,127.0.0.1:27018,127.0.0.1:27019/
production:   mongodb://shop-api:<password>@node-01:27017,node-02:27017,node-03:27017/shop?tls=true&tlsCAFile=./ca.pem&authSource=admin
Only the connection string changes. It now carries the three nodes by name, tls=true, the cluster CA and a user with
the roles the application needs, plus authSource=admin, because users live in the admin database. The code keeps its
queries, its indexes and its transactions as they were. If you read the string from an environment variable, moving to
production does not touch a single line.
Where to go next
For the whole path, follow Quick start with a local cluster and then Three machines with systemd. If you want to see how the cluster behaves when something fails, Kill a node and watch it recover does it on three nodes in Docker. And if you come from MongoDB, Differences with MongoDB gathers the behaviours that change when you go from a replica set to ranges.
Tags
- development
- cluster
- deployment